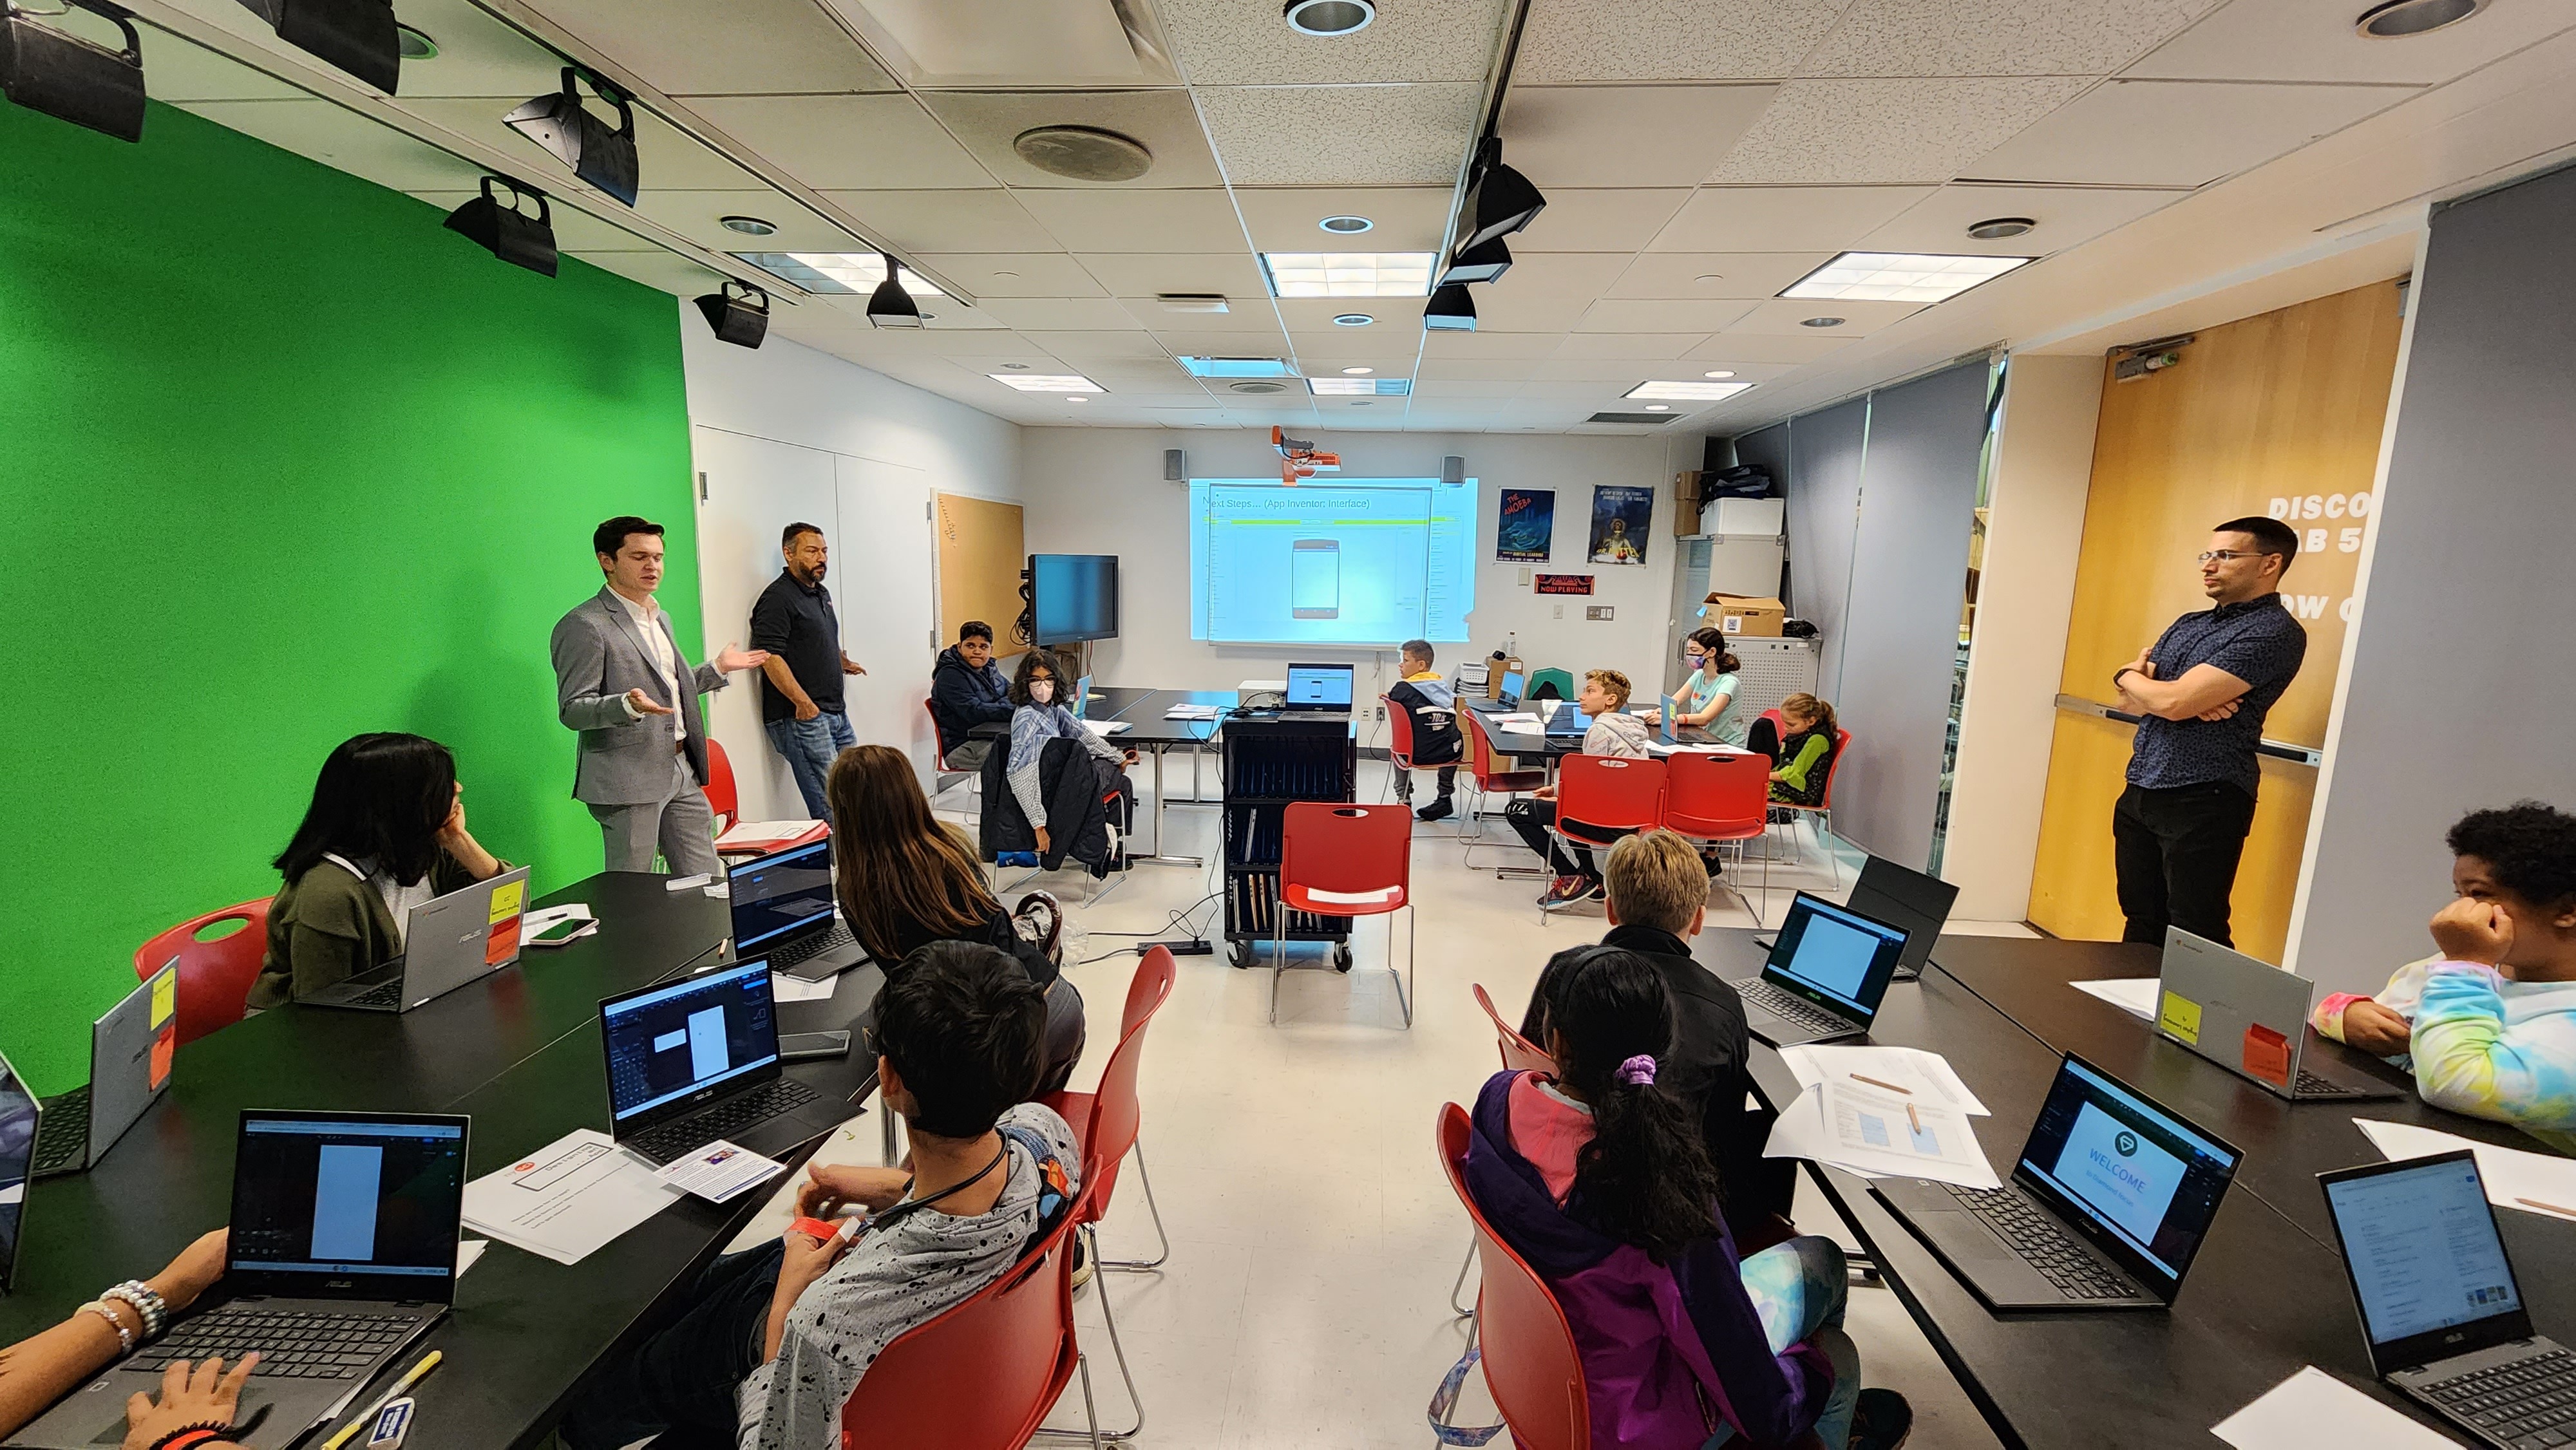
September 7th, 2016
CG-Riverville-GREEN-960x480 
This is the starter map. Load this file onto student iPads as it is the correct aspect ratio.  Students will see the map image in Choreo Graph and then create a subway map with this as the background.
One unit on the grid in Choreo Graph = ¼ mile = .25 mile


Criteria for Mapmaking

For this lesson, students will use two trains to connect all the stations on the map.  They are instructed to make sure that passengers could travel from any station to any other station on the subway lines. (Note: Transferring lines to get around the city is acceptable.)

The student worksheet has clear instructions for making a map.  Included below is a series of screenshots that shows the progression to make a map in Choreo Graph.

If some of the maps made by students look crazy and unrealistic, those maps will actually work well as the students think about efficiency and making better maps in the following lessons.


Divergent Solutions

An important aspect of NYSCI’s Noticing Tools is that they invite and celebrate divergent solutions.  There is not one correct answer, any map design that meets the basic minimum criteria will suffice: 2 train lines, you can get from any station to any other station.  As students connect the coordinates on their maps, the maps should vary.  Students will have ownership over their designs and will use this map in the following lessons.


What you need to get started:

  • Set of iPads with the Choreo Graph app
  • student sheets

Time Needed:

1 Class period

Collaboration and Group Work

These lessons are designed for students to work individually, in pairs, or in groups.  Each student should do all the work on their own sheets, and the iPad should be shared across group members as equally as possible.

We suggest that groups be no larger than four students.  Four or more students in a group will require extra attention to make sure that every group member is contributing equally.


Lesson Plan

Check out the series of images below showing how to create a map in Choreo Graph.  The student worksheets offer detailed instructions for creating maps, be prepared to help them get started. If you have a projector in your classroom it might be helpful to show these images and talk through the steps to create a map.


Adding Trains

Students will also add trains to their maps. They are invited to draw their own, or add color to these trains before snapping pics and tracing them in Choreo Graph.
 CG-Two-trains


The map that students create will look something like this map.  Encourage them to be creative as they design their own system of lines around the city!
CG Riverville Green Screen 1


Getting Started

Here is a step by step series of images showcasing how to make a map in Choreo Graph:


Share the file of the map image to the student iPads.  In Choreo Graph, tap the camera icon, and then the images button (  ) and bring the map image into Choreo Graph.  Once you see the map on the bottom croll, hold your finger on the image, choose “Set Background.”  After the map is in place, add the trains by snapping a pic and tracing.  Students can add color to their trains.
CG-Riverville-Adding-Map-Background


Map and trains have been added. You are ready to tap Animate to start drawing subway lines. NOTE: On the Build Screen you can re-size the objects by pinching with two fingers.  Size the trains to about the size of a nickel, but not too small so as to make them difficult to move around.
image_1


Tap the wrench icon, and toggle on Translation and Grid.  This will result in visualizations of the coordinates and the translation line segments.  
CG-Adding-Map-Tools


Drag the trains to the starting points.  You may choose any station to be a starting point.  
image_3


Tap the second keyframe and drag the trans to the next station, or leave the train at that station for as long as needed.  You can go back to the first keyframe and tap the play button to test your first animation.
image_4


Tap the second keyframe, drag the train to the next station.  Notice that it’s ok for two trains to be at the same station at the same time.  TEACHER NOTE: Choreo Graph is also designed for rotations, and students might rotate trains to traverse their maps.  Make sure they don’t spend too much time on rotations at this point in the lesson as it is not the focus on the lesson, however if setting rotations doesn’t cause them to fall behind then it’s probably not a problem.  Use discretion.   
image_5


As you continue to add lines, be sure to connect every station in the city, and make sure the two trains also visit the same station at least once so that passengers will be able to transfer lines.
image_6


Trains either need to loop back to the starting point, or reverse directions and get back to the beginning. There are plenty of keyframes for the trains to make complete circuits, to get back to the starting point.
CG Riverville Green Screen 1


Once students make their map they are instructed to fill in a table of the coordinates for each station as well as the landmarks.  This will be very helpful in the lessons to come. Students are ready for lesson two once their map is complete and they’ve recorded all important coordinates.


Sharing

  1. With each lesson, spend some time allowing the students to share their work with the class.  In this lesson, students can share their maps, and everyone will see the divergent solutions across all the examples.
  2. You might also invite students to start noticing the mathematics in their maps.  Examples: 1) Do you see things here that we have been studying?  2) How would you find the slope? 3) Does your map have any parallel or perpendicular lines?

Wrapup

  1. If necessary, have students label their iPads so they will be able to return to them for the next lessons.

Post a comment

You must be logged in to post a comment.

Big Idea

In this introductory lesson students will create a subway map in Choreo Graph. In the starter map below there are several subway stations, it is their task to connect all of them using two different subway lines. Using the student worksheet, they are given specific instructions to make their maps. They will also make notes of the coordinates for each station and landmark which will be useful in the following lessons.

Learning Objectives

Activity: Getting started by connecting all the stations and creating the first subway map to be used in the lessons to come.
Objective: SWBAT to explore Choreo Graph’s interface while solving a real-world problem

Device Strategies

If necessary, have students label their iPads so they will be able to return to them for the next lessons.

These lessons are designed for students to work individually, in pairs, or in groups.  Each student should do all the work on their own sheets, and the iPad should be shared across group members as equally as possible. 
We suggest that groups be no larger than four students.  Four or more students in a group will require extra attention to make sure that every group member is contributing equally.